
Over the years as a Software Engineer, I have learned one fundamental truth: the best security tools are the ones that actually run. Too often, mobile security is treated as a final, manual hurdle—a bottleneck that is both expensive and prone to human error. Currently, many teams neglect dynamic analysis because setting up specialized environments like Drozer is notoriously finicky.
Recently, a core security requirement for a new mobile application pushed me to find a better way. I needed a solution that was predictable, repeatable, and fully automated. In this post, I will show you how to implement a “zero-touch” GitHub Actions workflow using Node.js and Docker to handle Android security scanning without the manual headache.
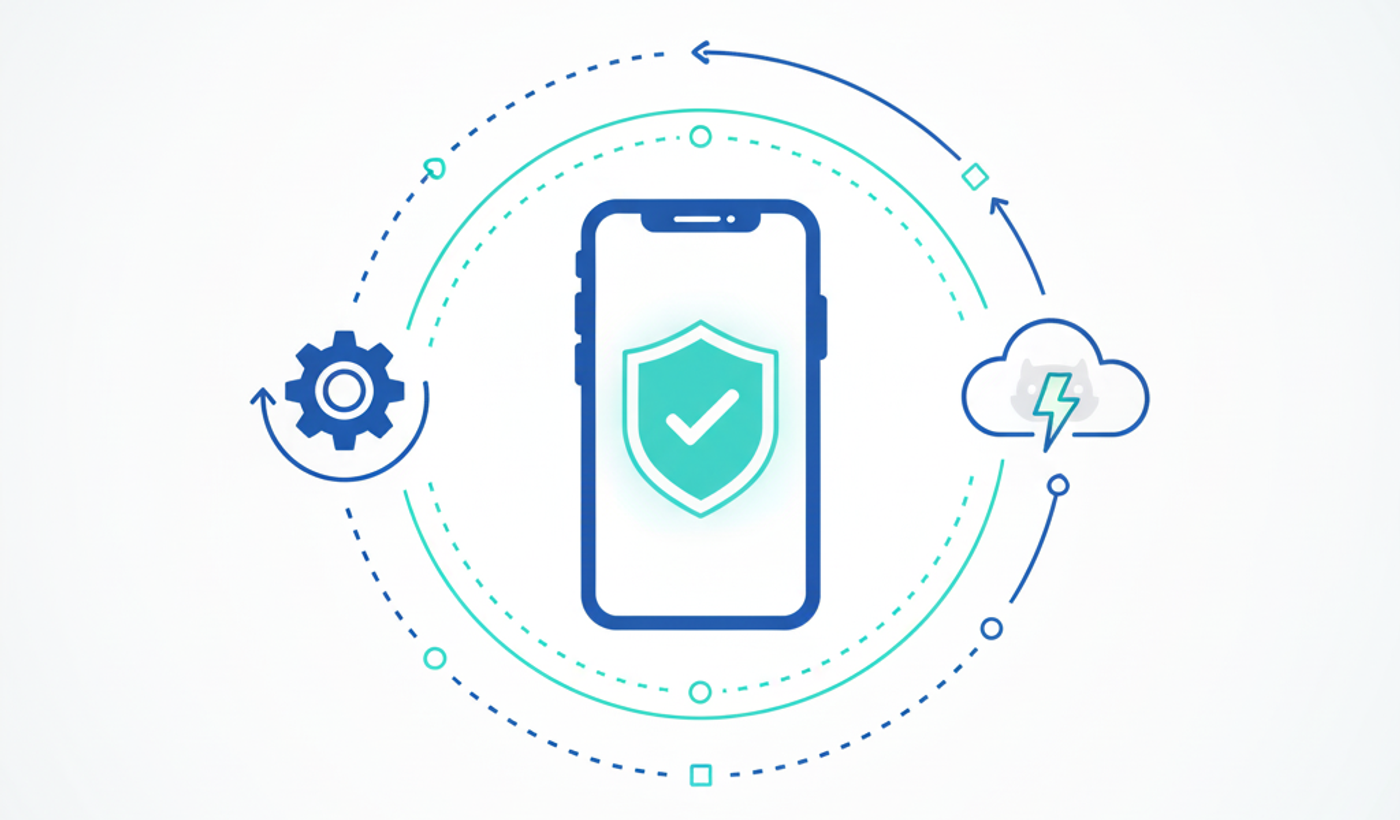
Why Automated Vulnerability Scanning is Essential
In a modern development lifecycle, security cannot be an afterthought. Android applications are particularly susceptible to attack vectors due to the open nature of the OS and the complexity of Inter-Process Communication (IPC). Automated scanning helps you identify critical pitfalls early, such as:
- Exported Activities: Components accidentally left public that invite unauthorized access.
- Insecure Content Providers: Database entry points that could leak sensitive user data.
- Information Leaks: Sensitive data accidentally written to system logs.
Maintaining a proactive stance is vital for protecting user privacy. Organizations like OWASP provide the Mobile Application Security (MAS) standard as a global benchmark. By automating these scans in your CI/CD, you ensure every build meets a safety baseline before it ever reaches a physical device.
What is Drozer?
Drozer is a comprehensive security testing framework for Android. It allows you to assume the role of a rogue application to interact with other apps through the Android runtime.
The core philosophy is “App-to-App” interaction. While static analysis looks at the code, Drozer uncovers how an app behaves when it receives unexpected intents or queries in a live environment. It is a powerful ally for catching vulnerabilities that code reviews often miss.
You can find the official tool on the ReversecLabs GitHub repository.
The Pain Point: Manual Security as a Bottleneck
Dynamic analysis usually requires a physical device, a specific environment, and manual command execution. For a busy developer, this is overwhelming and often leads to the process being skipped entirely. Key challenges include:
- Environment Complexity: Managing specific Python versions (3.9), the Android SDK, and specialized tools is a recipe for frustration.
- Emulator Management: Manually booting emulators and installing agents for every scan is a massive time-sink.
- Inconsistency: Manual scans are rarely documented; what one developer checks, another might overlook.
- Human Error: Forgetting a scan or running it on the wrong build version can allow critical bugs to slip through.
The Solution: A “Zero-Touch” Drozer Pipeline
My goal was simple: every time we build a preview or production APK, the system must automatically boot an emulator, install the Drozer Agent, and execute a suite of security tests.
1. Environment Orchestration
We use GitHub Composite Actions to keep our workflows modular and clean. The setup phase handles the heavy lifting: installing the Drozer CLI, configuring the environment, and fetching the agent.
- name: Setup Python for Drozer compatibility
  uses: actions/setup-python@v5
  with:
    python-version: "3.9"

- name: Install Drozer CLI
  shell: bash
  run: |
    python3 -m pip install drozer

- name: Download Drozer Agent APK
  uses: robinraju/release-downloader@v1
  with:
    repository: ReversecLabs/drozer-agent
    latest: true
    fileName: "drozer-agent.apk"
2. The Automation Script (Node.js)
Instead of relying on fragile Bash scripts to parse terminal output, I built a wrapper using Node.js. This allows us to define “Vulnerability Rules” programmatically.
- Constants: We define a list of targeted scans (Activities, Content Providers, SQL Injection).
- Validation: The script checks output strings for “red flags” like “accessible tables”.
- Reporting: It generates a clean HTML report using Bootstrap for easy review by the security team.
// Example of a vulnerability check defined in our Node.js runner
{
    title: 'SQL Injection on Content Providers',
    description: 'Content providers with SQL Injection vulnerabilities',
    command: 'run scanner.provider.injection -a',
    checkIsVulnerable: (result) =>
        !result.toLowerCase().includes('injection in projection:\n  no vulnerabilities found') ||
        !result.toLowerCase().includes('injection in selection:\n  no vulnerabilities found')
}
3. Handling the Emulator in CI
The trickiest part is interacting with the Drozer Agent UI in a headless environment. We solve this by sending adb shell input keyevent 66 (the Enter key) to the emulator to programmatically toggle the “Server On” switch.
Implementation Workflow
The pipeline follows a logical flow to maximize efficiency and minimize costs:
- Build: The app is built using Expo and EAS, resulting in an APK.
- Setup: The environment is prepared with Python, Drozer, and Node.js dependencies.
- Emulator:
reactivecircus/android-emulator-runnerlaunches a specific API Level (e.g., API 34) with KVM acceleration for speed. - Scan: The custom Node.js runner cycles through the Drozer modules and evaluates the results.
- Artifact: The generated
.htmlreport is uploaded for review.
Performance Note: Running emulators in CI requires KVM (Kernel-based
Virtual Machine) support. Ensure your runner uses sudo udevadm trigger --name-match=kvm to enable hardware virtualization, or your scans will time
out.
Example step in the workflow to run the Drozer scan in an emulator:
# Execute the Drozer security scan within an Android emulator environment
- name: Run Drozer scan on emulator
  id: drozer-scan
  continue-on-error: true
  uses: reactivecircus/android-emulator-runner@v2
  with:
    api-level: ${{ inputs.api-level }}
    force-avd-creation: false
    target: default
    arch: x86_64
    profile: pixel_tablet
    # Reduced disk usage for CI environment - use smaller partition sizes
    disk-size: 6000M
    # Optimized emulator options for headless CI environment with reduced disk usage
    emulator-options: -no-window -gpu swiftshader_indirect -noaudio -no-boot-anim -camera-back none -no-metrics -no-snapshot-save -no-snapshot-load -wipe-data -partition-size 2048
    emulator-boot-timeout: 300
    disable-animations: false
    script: |
      # Set up port forwarding for Drozer communication (port 31415 is Drozer's default)
      adb forward tcp:31415 tcp:31415
      # Install the Drozer agent that will receive commands from the Drozer CLI
      adb install drozer-agent.apk
      # Install the target APK that we want to scan for vulnerabilities
      adb install ${{ inputs.apk-path }}
      # keep device awake/unlocked and launch app
      adb shell settings put global stay_on_while_plugged_in 3 || true
      adb shell svc power stayon true || true
      # unlock if needed
      adb shell input keyevent 82 || true
      # Launch the Drozer agent depending on API level
      adb shell am start -S -n com.withsecure.dz/com.withsecure.dz.activities.MainActivity
      # wait for the app to launch
      echo "Waiting for app to initialize..."
      # optional: give the UI a moment (usually not needed but harmless in CI)
      sleep 10
      # start the Drozer server, emulating ENTER key presses to turn on the server
      echo "Starting Drozer server..."
      # on newer devices, the start server section is not highlighted by default.
      # so we need an extra keyevent to select it
      if [ ${{ inputs.api-level }} -gt 27 ]; then adb shell input keyevent 66 && sleep 5; fi
      adb shell input keyevent 66 && sleep 5
      adb shell input keyevent 66 && sleep 5
      echo "Drozer agent is ready! Starting security scan..."
      # Execute the actual security scan using our custom script
      node scripts/run-drozer-scan.js -a ${{ inputs.package-name }} -o results-api-${{ inputs.api-level }} --preview ${{ inputs.preview-mode }}
The script runs through all Drozer modules and generates a comprehensive HTML report.
Trade-offs and Considerations
Automation provides speed, but it requires awareness of certain constraints:
- Brittle UI Interaction: Relying on
keyeventworks, but if the Drozer Agent UI changes, the script may need updates. - False Positives: Scanners may flag “Exported Activities” that are public by design. We use a
preview-modeflag to manage these during development. - Maintenance: You must ensure the Drozer Agent APK is kept up-to-date within your repository.
What’s Next?
This setup has transformed security from a “one-off” manual task into a continuous, maintainable process. By catching insecure providers or SQL injection points in CI, we prevent regressions before they ever hit the Play Store.
Don’t be afraid to try it! Implementing security automation early protects your users and saves massive amounts of time during formal audits.
Leave your comment below: How are you currently auditing your Android App? Are you sticking with manual tools, or are you moving toward a DevSecOps approach?